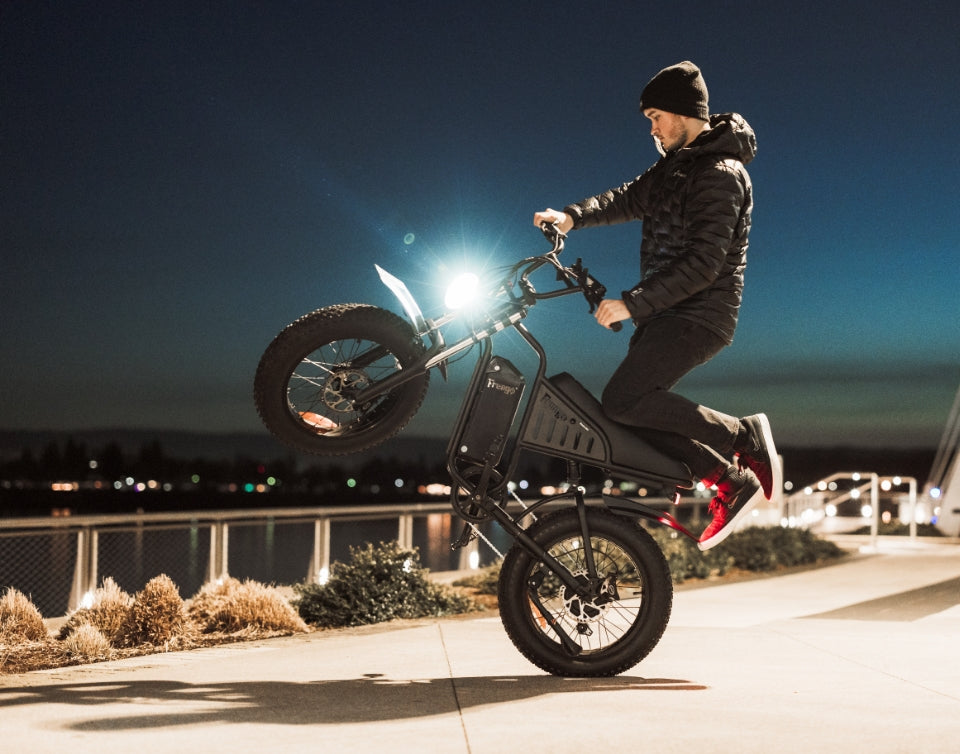
Quick answer: Hydraulic disc brakes use fluid pressure to move the brake pads when you pull the lever. On an electric bike, that can provide a controlled lever feel and consistent pad movement, but the number of caliper pistons alone does not determine stopping distance. Tires, surface grip, rider and cargo weight, speed, rotor and pad condition, brake setup, and rider technique all matter. Freego matches different brake packages to different platforms: X1 SE, X2 Pro, X3/X3 Pro, Nova 4, and Nova 5 use four-piston hydraulic disc brakes, while M3 and F2 Pro use dual-piston hydraulic disc brakes.
When riders compare hydraulic disc brakes, the conversation often becomes a contest between two pistons and four. That shortcut misses the point. A brake system must suit the vehicle’s weight, intended speed range, tire contact patch, riding position, and typical terrain. A powerful off-road platform that repeatedly sheds speed on descents creates a different braking demand from a compact fat-tire e-bike used for mixed daily riding.
This guide explains what the lever is doing, how riders can modulate braking force, and why Freego uses different hydraulic disc brakes across its lineup. It also shows why a mechanical disc brake can remain a reasonable match for a youth-focused model such as M1-Neo when it is used within its intended speed, rider, and supervision limits.
How Hydraulic Disc Brakes Turn Hand Pressure Into Control
Pulling a hydraulic brake lever pushes fluid through a sealed hose toward the caliper. The caliper pistons move the pads into the rotor, creating friction that slows the wheel. Because the system transmits pressure through fluid rather than pulling a cable, the lever can offer smooth engagement with relatively little hand force when the brake is correctly adjusted and maintained.
Hydraulic systems do not all feel identical. Lever reach, caliper design, rotor size, pads, fluid condition, and setup influence the result. Ask whether the rider can reach the lever comfortably and build force progressively in the intended condition
Lever Reach and Hand Position Matter More Than Many Buyers Expect
A strong brake is only useful if the rider can operate it without stretching, twisting the wrist, or losing grip on the handlebar. Before riding, sit in the normal riding position and place one or two fingers on each brake lever. Your wrist should remain close to neutral, and the lever should be reachable without rolling the hand forward.
If the brake has a reach adjustment, it changes how far the lever sits from the grip. This helps riders with smaller hands or insulated gloves; it positions the control but does not increase braking power.
Do not move the lever so close that it contacts the grip under hard braking. A lever that pulls unusually far, feels spongy, or changes feel between rides needs inspection. Possible causes include air in the hydraulic line, worn pads, a leak, rotor or caliper alignment issues, or another service problem. Do not continue a fast ride to “see if it improves.”
Brake Modulation Is the Skill of Adding Force Gradually
Modulation means controlling how braking force builds between first pad contact and maximum usable braking. Good modulation helps a rider reduce speed without abruptly locking a wheel or upsetting the bike’s balance.
Start with light pressure, feel the pads contact the rotor, and then add force progressively. As the bike slows, continue adjusting pressure instead of treating the lever like an on/off switch. The front brake normally provides a large share of available deceleration because weight transfers forward, but grabbing it suddenly can overwhelm available traction. The rear brake helps stabilize the bike and can provide useful feedback about surface grip.
On gravel, wet leaves, dust, mud, snow, painted lines, or metal, the limit is often tire grip. Four-piston brakes cannot create traction the surface does not provide. Slow before corners, keep the bike more upright, and leave extra room.
Two-Piston and Four-Piston Hydraulic Disc Brakes
A two-piston caliper typically uses one piston on each side of the rotor. A four-piston caliper generally uses two on each side. More pistons can spread clamping pressure across a larger pad area and can support heat management and repeatable control in demanding use. That is why four-piston systems are commonly paired with heavier, faster, or more performance-oriented platforms.
Piston count is one part of a complete system. Rotor size, pads, lever leverage, hydraulic condition, tires, weight distribution, and mass all affect performance. A maintained two-piston system can suit its bike; a neglected four-piston system can perform poorly.
For the same reason, Freego does not need to place the same caliper on every model. The objective is configuration matching, not winning a specification contest.

Freego Hydraulic Disc Brakes by Model
| Model | Published brake configuration | Why the match makes sense | Best rider check |
|---|---|---|---|
| X1 SE | Front and rear four-piston hydraulic disc brakes | Supports a substantial all-terrain platform designed for Class 2/3 settings and light off-road use | Confirm lever reach and practice progressive stops before entering traffic |
| X2 Pro | Front and rear four-piston hydraulic disc brakes | Matches a high-power hub-drive platform intended for demanding off-road riding where permitted | Learn the lever response in the lower-power setting before faster trail use |
| X3 / X3 Pro | Front and rear four-piston hydraulic disc brakes | Appropriate for a heavier 72V performance platform with high off-road capability | Account for vehicle mass, speed, surface, and longer decision distance |
| Nova 4 | Four-piston hydraulic disc brakes | Complements a mid-drive off-road platform that may see repeated braking on technical terrain | Use smooth inputs while standing and descending; avoid last-second grabs |
| Nova 5 / Nova 5 Pro | Four-piston hydraulic disc brakes | Matches a high-performance mid-drive e-moto platform and its intended off-road duty | Build experience at conservative speeds before using higher-performance modes |
| M3 | Dual-piston hydraulic disc brakes | Suited to the compact fat-tire platform when used within its intended load, speed, and terrain | Check traction and allow added room when the tires or road are wet |
| F2 Pro | Front and rear dual-piston hydraulic disc brakes | Matches an everyday fat-tire platform with a different duty cycle from high-power e-motos | Reassess stopping space when carrying a passenger or cargo |
This table is a configuration guide, not a stopping-distance ranking. Freego’s current product information identifies the piston layouts, but a safe stopping distance cannot be promised from those labels alone. Riders should compare the entire bike, the planned use, and the maintenance condition.
Four-Piston Brakes on X1 SE, X2 Pro, X3, Nova 4, and Nova 5
The four-piston group spans different categories. X1 SE targets Class 2/3 riding and all-terrain versatility. X2 Pro and X3/X3 Pro are high-power hub-drive models with pedals and off-road modes. Nova 4 and Nova 5 are mid-drive e-moto-style machines without pedals.
What they have in common is greater demand on the brake system due to some combination of vehicle mass, performance, terrain, and repeated deceleration. Four-piston calipers can help distribute pad pressure and provide a controlled feel under sustained use. Still, the rider must match speed to sight distance and trail conditions. Hardware cannot correct a late decision or create grip on black ice, loose dust, or wet roots.
On X2 Pro and X3/X3 Pro, higher-performance modes close distance more quickly. Riders must preserve enough space to recognize hazards and slow down.
On Nova 4 and Nova 5, a centered mid-drive layout changes how the machine feels compared with a rear hub motor, but the same braking principles apply. Enter technical sections at a manageable speed, keep the fingers ready without dragging the brake unnecessarily, and build pressure before the surface becomes most difficult.

Dual-Piston Hydraulic Brakes on M3 and F2 Pro
Dual-piston does not mean inadequate. M3 and F2 Pro serve different use cases from X-series performance machines and Nova e-motos. Evaluate their systems with their operating range, tires, mass, cargo, and environment.
M3’s compact size and fat tires suit mixed surfaces and shorter trips, but wide tires do not guarantee grip. Pressure, tread, loose material, and wet pavement still matter.
F2 Pro riders should think carefully about total load. Adding a passenger, bags, or other cargo increases the energy the brakes must manage. Start slowing earlier, use both brakes progressively, and avoid building speed into a situation with limited sight distance. This is good practice on any bike, regardless of piston count.
Moderate paved riding may be well served by maintained dual-piston hydraulic disc brakes. Repeated steep descents or higher-speed off-road use calls for evaluating the entire performance package, not upgrading one specification in isolation.
Why M1-Neo Mechanical Disc Brakes Should Be Judged in Context
M1-Neo uses mechanical disc brakes, where a cable connects the lever to the caliper. That configuration should not be dismissed simply because other Freego models use hydraulic disc brakes. M1-Neo is a youth-focused electric dirt bike with a different performance envelope, control strategy, rider size, and supervision requirement.
Mechanical disc brakes can offer straightforward inspection and cable adjustment. They also make lever feel and cable condition especially important. A parent or supervising adult should check that the lever is reachable, the cable moves smoothly, the pads engage correctly, and the child can stop predictably at the selected speed setting. The appropriate comparison is whether the entire bike is matched to the rider and riding area—not whether it shares hardware with a full-size adult e-moto.
No brake system replaces adult supervision, protective equipment, a controlled riding area, and conservative speed settings for a young rider.
How to Test Hydraulic Disc Brakes Before a Ride
- Inspect the lever. It should feel consistent and should not pull to the grip. Compare left and right sides for obvious changes.
- Look at the hoses and fittings. Do not ride if you see fluid, damaged hose material, or loose-looking connections.
- Check the rotor and caliper area. Confirm that the rotor is secure and not visibly damaged. A light intermittent sound can have several causes, but persistent rubbing, scraping, or pulsing deserves inspection.
- Verify the pads have usable material. Follow the model’s service guidance. Never touch pad or rotor friction surfaces with oily hands.
- Perform a walking-speed test. Test each brake separately in a clear area, then use both together.
- Make several progressive stops. Confirm that the response remains consistent before riding faster.
New pads and rotors may require a bedding-in process so their friction surfaces work together correctly. Follow the brake or bike manufacturer’s procedure rather than improvising aggressive stops. For general background, Park Tool’s disc-brake pad service guide illustrates why pad condition and contamination control matter. If you are unsure about hydraulic service, use a qualified technician.
How to Adjust Braking Force Without Overreacting
With hydraulic disc brakes, most riders are not directly “turning up” pressure. They are improving control through lever position, body position, braking timing, maintenance, and compatible components.
- Set lever reach for your hands. Keep enough clearance so the lever cannot bottom against the grip.
- Use one or two fingers. Keep the remaining fingers wrapped around the grip so steering control is not sacrificed.
- Brake before the obstacle. Reduce speed while the tires have the best grip rather than waiting until the bike is leaned over or bouncing through rough ground.
- Shift body position smoothly. Brace with the legs and avoid stiff arms. Sudden body movement can disturb traction.
- Use both brakes progressively. The exact balance changes with surface, slope, load, and bike geometry.
-
Allow for temperature. Long descents create heat. Use controlled braking and pauses when appropriate instead of assuming the system has unlimited thermal capacity.
Road surface, load, visibility, and rider timing affect braking performance on every model.

Brake Upgrades Require System Compatibility
A larger rotor, different caliper, or aggressive pad is not an automatic improvement. Mounts must support the rotor and adapter, and the caliper, lever, hose, fluid, pad, wheel, and rotor must remain compatible.
Before replacing parts, confirm the exact model year and configuration with Freego support. Product specifications can change, and components that look similar may use different fittings or clearances. A qualified technician should inspect any change that affects brake mounting or hydraulic lines.
Common Hydraulic Disc Brake Warning Signs
- The lever suddenly pulls closer to the grip
- The lever feels spongy or changes from one pull to the next
- There is visible fluid near the lever, hose, or caliper
- Braking force drops after contamination or washing
- The bike pulses, shudders, or pulls unexpectedly
- A rotor is visibly bent, loose, deeply scored, or discolored
- Grinding replaces the normal pad-to-rotor sound
If any of these appear, stop and inspect the bike. Cleaning or adjusting the wrong part can make matters worse, especially if oil reaches the pads. Use the correct service procedure and replacement parts.
Choosing the Right Freego Brake Configuration
Choose by use case first. X1 SE offers four-piston hydraulic disc brakes on a Class 2/3-oriented all-terrain platform. X2 Pro and X3/X3 Pro pair four-piston hydraulic disc brakes with higher-performance hub-drive platforms. Nova 4 and Nova 5 extend that approach to mid-drive e-moto riding. M3 and F2 Pro use dual-piston hydraulic disc brakes suited to their respective compact and everyday fat-tire roles. M1-Neo’s mechanical system belongs to a supervised youth platform rather than an adult performance category.
Then evaluate the rider: hand size, lever reach, experience, total load, typical weather, terrain, and willingness to maintain the system. The best configuration is the one the rider can operate predictably on a bike that suits the intended environment.
Compare Freego models by real riding needs, not one specification. Review the linked model pages, decide where and how fast the bike will be used, and contact Freego support if you need help confirming the current brake configuration or compatible service parts.
Frequently Asked Questions About Hydraulic Disc Brakes
Are four-piston hydraulic disc brakes always better than two-piston brakes?
No. Four-piston calipers can support greater pad area, heat management, and control in demanding use, but the best system depends on bike mass, rotor, pads, tires, terrain, speed, maintenance, and rider needs.
Do four pistons guarantee a shorter stopping distance?
No. Stopping distance also depends on tire grip, road surface, speed, total load, brake condition, rider reaction, and technique. Piston count alone cannot guarantee a distance.
Which Freego models use four-piston hydraulic disc brakes?
Current Freego product information lists four-piston hydraulic disc brakes for X1 SE, X2 Pro, X3/X3 Pro, Nova 4, and Nova 5/Nova 5 Pro.
Which Freego models use dual-piston hydraulic brakes?
M3 and F2 Pro use dual-piston hydraulic disc brakes, matched to their platform and intended use.
Why does M1-Neo use mechanical disc brakes?
M1-Neo is a youth-focused model with a different speed range and use case. Its brakes should be evaluated together with rider fit, speed settings, supervision, maintenance, protective equipment, and riding area.
What should I do if a hydraulic brake lever feels spongy?
Stop riding at speed and inspect the system. Air, fluid loss, worn pads, or another service issue may be involved. Follow the model’s service guidance or use a qualified technician.