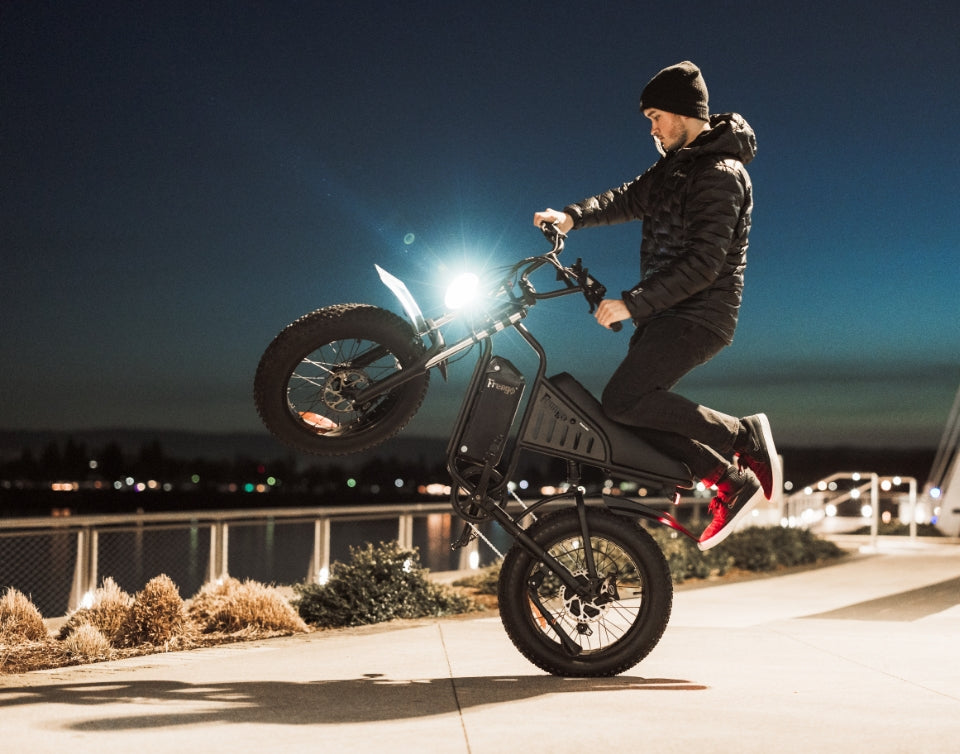


E-Bike Maintenance Checklist: Your First 100 Miles
This e-bike maintenance checklist covers your first 100 miles on a new bike. Those miles are not a race to the first tune-up. They are a practical break-in period when you learn how the bike feels and watch for parts that may settle, loosen, rub, or need adjustment. A short inspection before the first ride, followed by checks around 10-25, 50, and 100 miles, can catch small issues before they become expensive or unsafe.
AI Snippet: This e-bike maintenance checklist explains what to inspect during the first 100 miles. During that period, check tire pressure, wheel security, brakes, steering, pedals, crank arms, spokes, battery mounting, cables, lights, and fasteners. Follow the model manual for torque values, bed in new disc brakes, use only the approved charger, and stop riding if you find wheel play, braking loss, electrical damage, a loose axle, or unusual battery heat, odor, swelling, smoke, or hissing.
Use this e-bike maintenance checklist if you are a U.S. rider with a newly assembled or recently delivered e-bike. It applies to everyday models and higher-performance bikes such as the Freego X1 and Freego X2 Pro, but your owner's manual always takes priority. Component designs and torque specifications vary by model.

E-Bike Maintenance Checklist: First 100 Miles at a Glance
| Mileage | What to Check | Why It Matters |
|---|---|---|
| Before the first ride | Wheels, tires, brakes, handlebar, pedals, battery, controls, lights, and visible fasteners | Confirms that shipping and final assembly did not leave an obvious safety issue |
| 10-25 miles | New noises, brake feel, tire pressure, axle security, cockpit movement, pedal and crank movement | Parts can settle after the first heat cycles, bumps, acceleration, and braking |
| About 50 miles | Spokes, wheel trueness, brake pads and rotors, chain, cables, battery mount, rack and accessory bolts | Early wear or loosening is easier to correct before it spreads |
| At 100 miles | Repeat the full inspection and arrange professional service for anything uncertain | Creates a reliable baseline for your ongoing maintenance schedule |
This e-bike maintenance checklist uses practical mileage checkpoints, not universal service intervals. Ride conditions matter. A heavy rider, steep hills, frequent high-speed braking, cargo, rough trails, rain, sand, or repeated full-power acceleration can justify checking the bike sooner.
Five-Minute Safety Check Before Your First Ride
1. Confirm Both Wheels Are Secure
Wheel security comes first during early maintenance. Check that the front and rear wheels are correctly seated and secured according to the manual. Depending on the bike, that may involve axle nuts, a thru-axle, or another retention system. Do not guess at tightness and do not copy a torque value from a different model.
Lift one wheel at a time and spin it. The wheel should rotate without obvious side-to-side wobble. A small amount of disc-brake sound can occur on a new setup, but heavy rubbing, visible rotor contact, axle movement, or a wheel that does not sit straight should be corrected before riding.
2. Check Tire Condition and Pressure
Tire condition is another essential part of early maintenance. Inspect each tire for shipping damage, cuts, bulges, an uneven bead, or objects in the tread. Inflate within the range printed on the tire sidewall and follow any model-specific guidance. Rider weight, cargo, terrain, tire size, and front-to-rear weight distribution can affect the best operating pressure.
Do not assume that maximum sidewall pressure is the ideal riding pressure. Do not use one universal PSI number for every fat-tire e-bike. Start with the manufacturer's guidance, check pressure with a gauge, and make small adjustments within the approved range.
3. Test Front and Rear Brakes Separately
Every first-service routine should test both brakes separately. With the power off, squeeze each brake lever independently and push the bike forward. Each brake should resist movement firmly. The lever should not pull all the way to the grip, and there should be no visible fluid leak, loose caliper, damaged hose, frayed cable, or missing rotor fastener.
Then test at walking speed in a clear area. If either brake does not stop the bike predictably, do not continue to a faster ride.
4. Check the Cockpit and Contact Points
Stand over the bike and hold the front wheel between your legs. Gently try to rotate the handlebar. It should not move independently of the wheel. Check the stem, handlebar, brake levers, display, saddle, seatpost, pedals, crank arms, and foot pegs where equipped for unwanted movement.
Pedals are side-specific and must be installed on the correct sides. Incorrect threading can damage a crank. If a pedal feels crooked, binds during installation, or develops play, stop and have it checked.
5. Inspect the Battery and Electrical Connections
The electrical inspection begins with the battery mount. Make sure the battery is fully seated and locked in its mount. Look for damaged wiring, crushed insulation, bent connectors, exposed conductors, loose plugs, or signs that a cable can contact the tire, chain, fork, or suspension.
Turn on the bike and verify the display, lights, throttle or pedal assist where equipped, and brake motor cutoffs in a controlled area. If the display shows a fault code, consult the model documentation or contact Freego Support rather than repeatedly cycling the system and continuing to ride.
How to Bed In New Disc Brakes
New brake pads and rotors may not deliver their best braking performance immediately. Shimano instructs riders to bed in disc brakes by accelerating in a flat, safe, obstacle-free area and repeatedly applying the brakes in a controlled way. Follow the instructions supplied with your brake system and bike rather than improvising a high-speed test.
- Choose a dry, flat area away from traffic and obstacles.
- Build modest speed, then apply one brake progressively to slow the bike without locking the wheel.
- Repeat as directed by the brake manufacturer, allowing controlled deceleration.
- Repeat for the other brake.
- Stop if braking becomes inconsistent, a lever reaches the grip, a rotor is loose, or you see fluid leakage.
Avoid touching the braking surfaces. Chain lubricant, cleaners, grease, and skin oils can contaminate pads or rotors. Persistent squealing combined with weak braking, vibration, or visible rotor damage needs inspection.
What to Check at 10-25 Miles
The first short rides establish what “normal” feels and sounds like. Park Tool recommends learning the feel of your bike and paying attention to a new click, squeak, or rattle because it signals that something changed.
- Recheck tire pressure before riding.
- Check that both wheels and axles remain secure.
- Apply both brakes and compare lever feel with the first ride.
- Check for movement at the handlebar, stem, saddle, pedals, and crank arms.
- Inspect the battery latch and electrical cables.
- Look for a loose fender, light, rack, kickstand, or accessory.
- Note any new clicking under pedaling or acceleration.
A careful inspection does not mean tightening every bolt harder. Over-tightening can damage threads, crush components, or create a new safety problem. Use the torque values in the correct Freego manual and a suitable torque wrench. If the specification is unavailable or the fastener repeatedly loosens, ask a qualified mechanic or Freego Support.

What to Inspect at 50 Miles
Inspect Spokes and Wheel Trueness
Spoke and wheel inspection matters because e-bike wheels carry more mass and motor force than many conventional bicycle wheels. With the bike powered off, inspect for a visibly loose, bent, or broken spoke. Spin each wheel and watch whether the rim or tire moves significantly from side to side.
Do not randomly tighten individual spokes by feel. Spoke tension and wheel truing affect the entire wheel. A noticeably loose spoke, repeated clicking, rim wobble, or an out-of-true wheel is a good reason to use a professional mechanic.
Review Brake Wear and Rotor Condition
Look through the caliper where possible and check that the pads are present and wearing evenly. Inspect the rotor for obvious scoring, discoloration, looseness, or bending. Braking wear depends on rider weight, speed, terrain, weather, cargo, and braking technique, so mileage alone cannot predict pad life.
Clean and Inspect the Chain
If your e-bike has a chain, wipe away surface dirt and inspect for stiff, rusty, or damaged links. Apply only a bicycle-compatible chain lubricant in the amount and frequency recommended for your conditions. Keep lubricant away from brake rotors, pads, tires, battery contacts, and electrical connectors.
For a pedal-equipped high-power model, frequent acceleration, dirt, and steep climbing can increase drivetrain wear. A clean drivetrain also makes new noises easier to identify.
E-Bike Maintenance Checklist at 100 Miles
At 100 miles, use the full e-bike maintenance checklist again and repeat the pre-ride inspection and the 50-mile inspection. Record the odometer reading, tire pressure, any adjustments, and any parts replaced. This gives you a baseline for future service.
- Confirm wheel and axle security.
- Inspect tires, tire pressure, rims, and spokes.
- Test both brakes independently and inspect pads, rotors, hoses, and cables.
- Check steering for smooth movement and unwanted play.
- Check pedals, crank arms, saddle, seatpost, rack, fenders, lights, and kickstand.
- Inspect the chain and drivetrain.
- Confirm that the battery locks firmly and connectors are clean and undamaged.
- Check that controls, display, lights, brake cutoffs, throttle, and pedal assist operate normally.
- Review the bike for cracks, impact damage, leaks, rubbing cables, or unusual heat.
If you are not confident inspecting brakes, wheels, steering, suspension, or electrical parts, book a professional safety check. Freego provides a U.S. dealer and service network; availability and the work each shop accepts can vary, so contact the location before transporting your bike.
Battery and Charging Rules for the First 100 Miles
A new battery does not require aggressive “conditioning.” Use and charge it according to the model instructions. The U.S. Consumer Product Safety Commission advises micromobility owners to use only the charger supplied with or recommended by the manufacturer, remain present while charging, avoid charging while sleeping, and unplug the product when charging is complete.
- Charge in a dry, ventilated area away from exits and combustible materials.
- Allow the battery to cool after a demanding ride before charging.
- Do not use a charger with the wrong voltage or connector simply because it fits.
- Do not charge a battery or charger that is damaged, wet, unusually hot, swollen, leaking, hissing, smoking, or producing an unusual odor.
- Do not open or repair a lithium-ion battery pack yourself.
If a battery shows fire-warning signs, move away, alert others, and call emergency services. Do not put yourself at risk trying to handle a failing pack.
When Should You Stop Riding Immediately?
Stop riding and arrange inspection if you notice any of the following:
- Loss of braking power or a brake lever pulling to the grip
- A loose wheel, axle, handlebar, stem, pedal, crank arm, or brake component
- Wheel play, a broken spoke, severe wobble, or tire bulge
- A frame crack, bent component, or damage after a crash
- Exposed wiring, arcing, repeated fault codes, or unexpected power delivery
- Battery swelling, leakage, unusual heat, odor, hissing, smoke, or impact damage
- A new grinding, clunking, or metal-on-metal sound
Turning the bike off does not make a mechanical defect safe. When in doubt, walk the bike and ask for help.
FAQ
Does every new e-bike need service at exactly 100 miles?
No. An e-bike maintenance checklist at 100 miles is a useful inspection milestone, not a universal manufacturer requirement. Follow your model manual and inspect sooner after rough riding, heavy loads, steep hills, rain, crashes, or unusual noises.
Which parts are most important to check on a new e-bike?
Prioritize wheels and axles, tires, brakes, steering, pedals and crank arms, spokes, the battery mount, electrical cables, and any fastener installed during final assembly.
Should I tighten every bolt after the first ride?
No. Check for movement and use only the specified torque for the correct model and component. Over-tightening can damage threads or parts. Use a torque wrench or ask a qualified mechanic when uncertain.
Is some brake noise normal on a new e-bike?
Light rotor contact or temporary noise can occur, but weak braking, heavy rubbing, vibration, fluid leakage, a loose rotor, or persistent squealing with reduced performance needs inspection. Bed in new disc brakes according to the brake manufacturer's instructions.
Can I use a different charger if the plug fits?
No. Use only the charger supplied with or specifically recommended for your e-bike and battery system. Matching the connector alone does not prove electrical compatibility.